Design the room on paper before you buy a foot of pipe.
Grow room irrigation design means splitting the room into zones of similar plants and emitters, sizing each zone to your source flow and pressure, choosing emitter type and count, setting water and feed schedules, and producing a parts list, all before purchase. Get those steps right and the install becomes simple assembly.
On retrofits, we rarely find a bad emitter. We find a zone that asks for more water than the source can give, a water room squeezed into a closet, and no filter ahead of the drippers. Every one of those is a design problem, not a parts problem. This is the planning method our installers use, and it works for a cannabis flower room, a tomato greenhouse, a nursery bench or a vertical farm rack.
What is grow room irrigation design?
It is the plan that connects your water source to every plant in the room. A complete grow room irrigation design answers five questions: how much water you have, how the room splits into irrigation zones, which emitters go where and how many, when each zone runs and what it carries, and what it takes to build. The deliverable is a drawing, a schedule and an irrigation parts list you can price.
Design sits upstream of installation. Once the plan is done, the build is a repeatable job, and our guide to drip irrigation setup for grow tables walks through plumbing a single table header. The same logic carries well past cannabis. See our take on precision fertigation beyond cannabis for greenhouse vegetable, nursery and CEA applications.
What do you need before you start designing?
Most bad designs start with a guess. Gather these inputs first. Each one changes pipe size, zone count or water treatment.
| Input |
Why it matters |
Where to get it |
| Scaled floor plan |
Sets run lengths, bench and rack positions, and where the water room fits |
Architect drawings, or a tape measure and graph paper |
| Plant count per bench or rack |
Drives emitter count and zone flow |
Your cultivation or production plan |
| Growing medium |
Changes how much water each shot holds and how often you irrigate |
Your medium supplier’s spec sheet |
| Container or block size |
Decides emitters per plant and shot volume |
Your pot, block or slab supplier |
| Crop stages and room schedule |
Veg, flower, propagation or mixed crops may need separate zones |
Your production calendar |
| Source flow (GPM) |
The hard ceiling on how big any zone can be |
Bucket-and-stopwatch test (below) |
| Source pressure (PSI) |
Must land inside your emitters’ rated range after losses |
A liquid-filled pressure gauge at the source |
| Water test |
Flags hardness, iron, alkalinity and pathogens; decides filtration, RO and UV |
An ag water lab; compare results to our iron in irrigation water chart |
| Available power |
Pumps, RO and controls all need circuits |
Your electrician and panel schedule |
How to run a bucket-and-stopwatch flow test
- Open the source fully at the point where your system will connect.
- Time how many seconds it takes to fill a 5-gallon bucket.
- Divide 300 by the seconds (5 gallons × 60 ÷ seconds). That is your flow in gallons per minute.
- Read the pressure gauge while water is flowing, not just when the line is static.
- Repeat at different times of day. Municipal and well supplies both drift.
A bucket that fills in 60 seconds means 5 GPM. That number is your zone budget, and everything downstream has to respect it.
How do you split a room into irrigation zones?
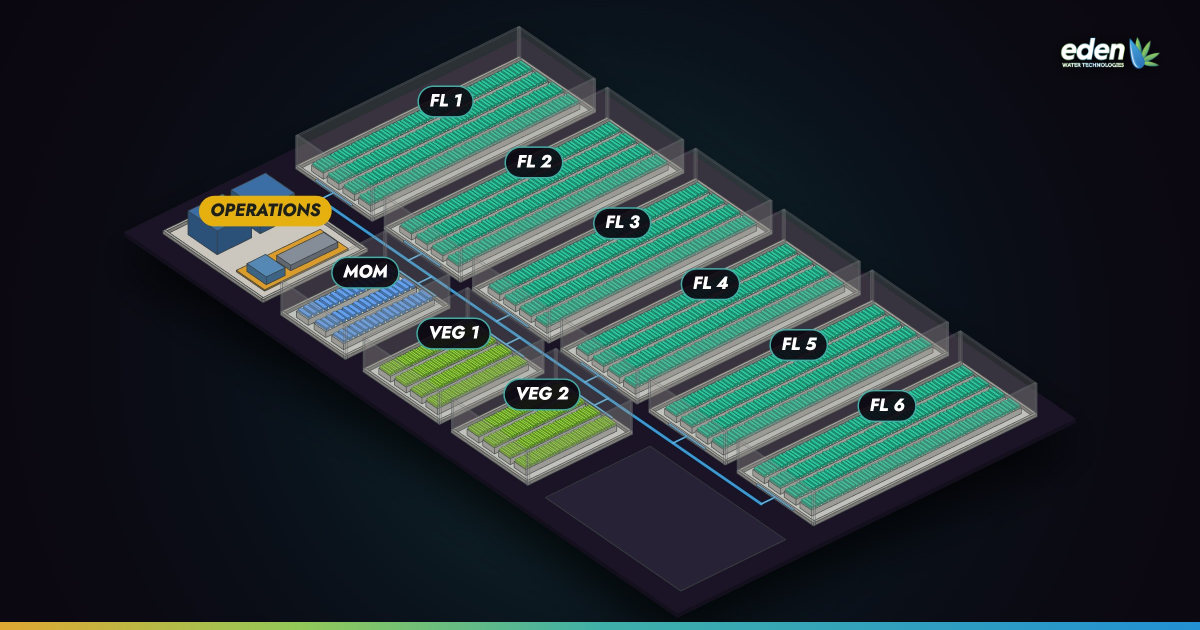
A zone is a group of emitters that turn on together from one valve. Oregon State University Extension’s drip irrigation guide starts the same way we do: identify fairly similar irrigation zones first, based on factors like run length and filter capacity. The USDA NRCS microirrigation standard adds two principles: apply water and chemicals uniformly without salt accumulation, and design laterals separately when emitter spacing or capacity varies.
In a cannabis grow facility layout or a greenhouse range, that translates to a few practical rules:
- Separate veg and flower. Different containers, emitter counts and shot volumes mean different laterals, and different zones.
- Group by medium and container. Stonewool slabs and large coco pots should not share a valve.
- Keep run lengths similar. A zone with one short bench and one long bench waters unevenly.
- Size every zone to your source. Zone flow can never exceed the flow you measured.
The zone-sizing math
Zone flow (GPM) = number of emitters × emitter rate (GPH) ÷ 60. For example, 240 emitters at 0.5 GPH is 120 GPH, or 2 GPM. On a 5 GPM source, that zone fits with headroom. A room needing 900 emitters at 1 GPH wants 15 GPM. Split it into several zones that run in sequence, or add storage and a pump.
The failure we see most on retrofits is one valve feeding a whole room on paper while the source supplies a fraction of that. The far benches get low pressure and short shots, and the room gets diagnosed with a feeding problem that is really a plumbing plan problem.
How many emitters per plant, and which type?
Emitter count follows container size and medium. Small blocks and plugs typically take one emitter. Larger containers often need two or more, spaced so the whole root zone wets evenly. Start from your medium supplier’s guidance, and keep the emitter layout identical on every plant in a zone. Mixed counts on one valve are the fastest route to uneven dryback.
Do I need pressure-compensating drippers?
Oklahoma State University Extension notes that pressure-compensating emitters hold a uniform discharge across their operating range, though they cost more than non-PC types. With long runs, tiered racks or any elevation change, that uniformity usually pays for itself. Check each emitter’s spec sheet for its rated pressure range, because ranges differ by model, then choose a regulator that lands inside it. We stock a 40 PSI pressure regulator for drip system protection and Rivulis Supertif pressure-compensating emitter assemblies; confirm both against your design.
| Factor |
Pressure-compensating (PC) |
Non-PC |
| Flow across pressure |
Stays uniform within the rated range |
Rises and falls with pressure |
| Best fit |
Long runs, tiered racks, elevation changes |
Short, level runs with steady pressure |
| Cost |
Higher |
Lower |
| Design tolerance |
Forgiving of pressure loss along the line |
Needs tighter pressure control |
How do water and feed schedules fit into the design?
Every zone gets its own schedule, because the valve is the smallest unit you can control. That is the real reason to zone carefully. If veg and flower share a valve, they share a schedule, and one of them is wrong. Map each zone to its own 24VAC irrigation control valve and controller output.
For the water side, meaning shot size, shot count and timing, build a crop steering irrigation schedule for each zone. For the feed side, decide which recipe each zone gets and when it changes. If you work from a manufacturer chart, learn how to read a feed chart and turn it into EC targets.
Then check the peak. Find the busiest stretch of the day, when zones run back to back, and confirm it still fits your source flow and fertigation capacity.
How big should your water room be?
Bigger than the first drawing, almost every time. An undersized water room is one of the most common problems we walk into on retrofits. RO, storage, filters and dosing get wedged into leftover space with no service access. Let the irrigation design size the water room, not the other way around.
Work it in order. Peak daily demand from your zones tells you how to size a reverse osmosis system and storage, while your water test decides whether you need a unit like the FMV series reverse osmosis system at all. Following the order in the Oregon State guide, put prefiltration and backflow prevention ahead of chemical injection. Then filter ahead of the emitters: a 120 mesh screen filter or disc filter is cheap insurance against clogged drip emitters. If your source carries pathogens, a UV sterilizer sized to your flow belongs in the train.
Batch tanks vs precision fertigation
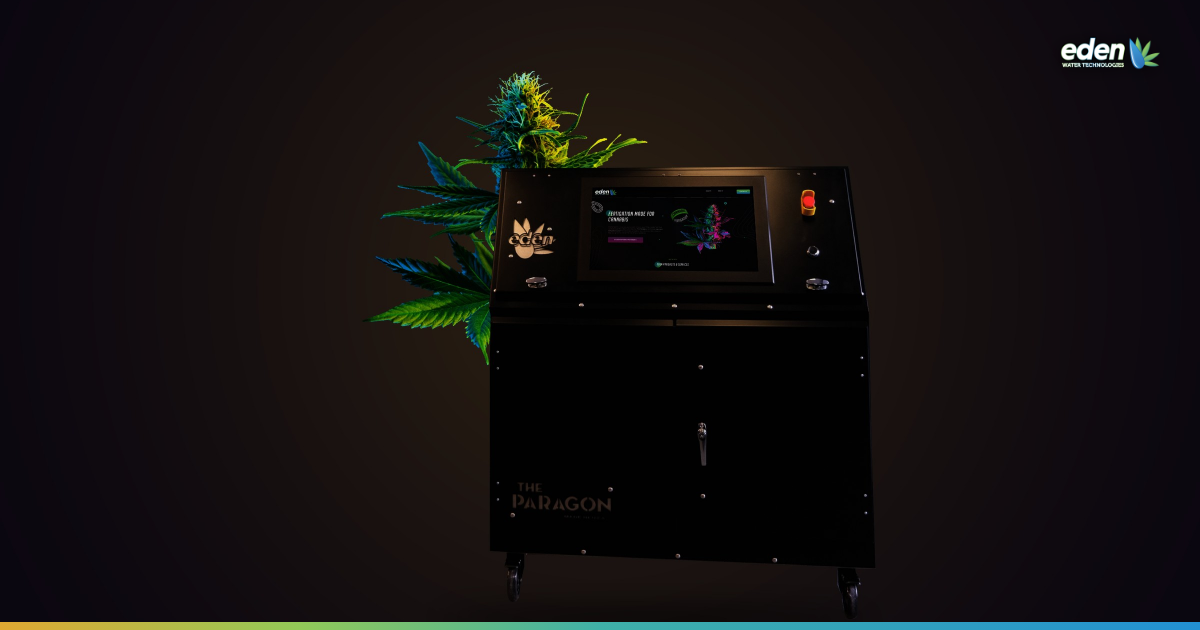
This is where pipe gets expensive. Batch-tank builds need mixing tanks, recirculation pumps, mixers and all the plumbing between them, and they eat floor space and a room full of amps. Our Paragon precision fertigation system runs on one 30-amp plug. That frees water room space for treatment, storage and the service access you will want later. More in 5 reasons to ditch your batch tanks.
Our newest system, Paradime, has no batch tank at all. It mixes your nutrients straight into the water line on the way to your rooms, at the strength you set, with its own pump for each nutrient. A scale reads during the feed, so the pumps on it auto-calibrate as they run and help calibrate the rest. It opens each zone valve on your schedule, room by room, keeps a record of every feed, and finishes with the nutrient push, so the nutrient in the line lands in the room, not the drain. Paradime growers use over half less water.
It also fits the zone plan you just drew. One control box can run many rooms, and each zone box controls up to 16 zone valves. Paradime starts with one 5-pump box: add a single pump for a sixth nutrient, or another box of five as you grow. Watch one feed, valve to plants.
Which irrigation design method fits your grow?
There are several ways to get from a sketch to a plan. Here is what each actually delivers.
| Method |
What you get |
What it misses |
Relative cost |
| Spreadsheet |
Full control over your own math |
No layout, easy to break, no second set of eyes |
Free (your time) |
| Racking-vendor room generators |
Bench and rack layout |
Irrigation is an afterthought; no zone or emitter math |
Free |
| Vendor sample galleries |
Example floor plans indexed by zones and emitters |
No method for your room, flow or water |
Free |
| Landscape drip software |
Basic hydraulics for open-field or landscape drip |
Built for outdoors; output is a rough indication, not a CEA design |
Free to low |
| Irrigation consultant |
Custom design for your site |
Lead time; quality varies by experience |
Highest |
| Eden Facility Designer |
A starting plan from your room details, plus a team that installs this gear |
Still needs your real flow test and water test |
Free |
How does the free Eden Facility Designer work?
The Eden Facility Designer is our free irrigation design tool for growers who would rather plan than guess. Bring your room and table sizes, plant count, water per plant, water source, emitters and nutrient line, and use them to start a grow room irrigation design you can actually build.
Our team can then talk through the plan with you before you buy, because no tool replaces someone who has pulled apart failed installs. It is built around grow rooms and tables, so it fits cannabis and hemp out of the box, and greenhouse vegetables, ornamentals or leafy greens on racks once you enter your own water per plant.
Grow Room Irrigation Design FAQ
Should I design irrigation before or after racking and lighting?
Alongside them. Racking sets bench positions; irrigation sets header routes, valve locations and the water room footprint. Lock all three into one floor plan before construction starts.
What belongs on an irrigation parts list?
Backflow prevention, prefiltration, a 120 mesh screen or disc filter, a pressure regulator, a pressure gauge, one solenoid valve per zone, mainline, distribution tubing, emitters, stakes, fittings, flush valves and goof plugs for mistakes.
What size mainline pipe does a grow room need?
Size it to the peak flow of the largest zone or zones running at once, not the room total, then check friction loss over the run length. Our guide to choosing the right PVC pipe covers the details.
When should I redo my irrigation design?
Any time you change medium, container size, crop or plant count, or add rooms. Re-run the bucket-and-stopwatch flow test after adding demand, because your zone budget may have shrunk.
Plan your room before you buy a foot of pipe with the free Eden Facility Designer.